Install or Replace an Imaging Unit
The imaging unit specified on the control panel is missing or broken. Install or replace the specified imaging unit.
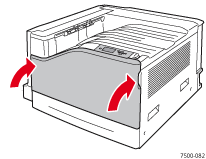
- Open the front door.
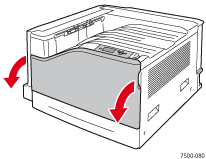
- If the imaging unit is missing, insert the imaging unit. If the imaging unit is present, replace it.
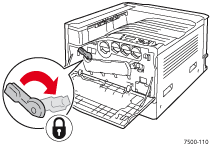
- Move the imaging unit lever counterclockwise to unlock the imaging unit door.
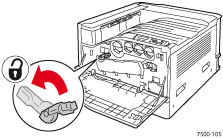
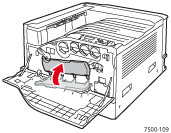
- Open the imaging unit door.
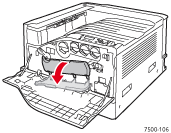
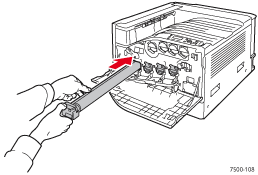
- Pull the imaging unit specified on the control panel out of the printer. Imaging unit 1 is shown as the example in the following illustration.

- Push the new imaging unit completely into the printer.
- Close the imaging unit door.
- Move the imaging unit lever clockwise to lock it.
- If the imaging unit is not present, install the imaging unit.
- Close the front door.
