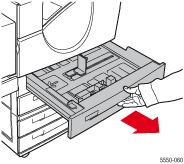
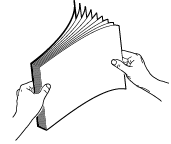
- For single-sided printing, place the side to be printed faceup with the top of the paper at the front of the tray.
- For two-sided printing, place the first side to be printed facedown with the top of the paper at the
front of the tray.
For additional information about loading paper, see the User Guide on the Xerox Support website.
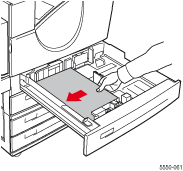
Note: Observe the fill line on the back of the tray. If you load paper above the fill line, the printer may jam.
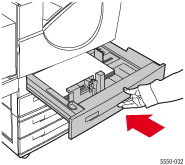
- In the control panel menus, select Paper Tray Setup, and then press the OK button.
- Select Tray 2 Paper, Tray 3 Paper, Tray 4 Paper, or Tray 5 Paper, and then press the OK button.
- Select Change Setup, and then press the OK button.
- Select the paper type, and then press the OK button.
- Select Auto Sensed or a listed paper size, and then press the OK button.
- If your paper is a custom size and it is listed in the menu, select it. If it is not listed in the menu, select New Custom Size to define a new custom size, and then press the OK button.
- If you selected New Custom Size, select the custom dimensions.
- For Short Edge, use the Up Arrow and Down Arrow buttons to specify the short edge, and then press the OK button.
- For Long Edge, use the Up Arrow and Down Arrow buttons to specify the long edge, and then press the OK button.
- If the control panel prompts you for the Paper Orientation, use the Up Arrow and Down Arrow buttons to select the direction you are feeding the paper into the tray.