The tray specified on the front panel is empty. Printing continues from other trays. On the front panel of the printer, press the i button to view information about the front panel message.
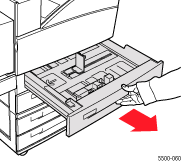
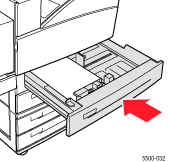
Pull the specified tray
out of the printer.
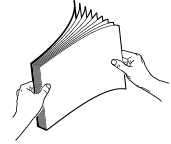
Fan the paper to release
sheets that may be stuck together.
Insert a stack of paper in the tray.
For single-sided printing, place the side to be printed faceup with the top of the paper at the front of the tray.
For two-sided printing, place
the side to be printed facedown
with the top of the paper at the
front of the tray.
For additional information about loading paper, go to Reference/Printing/Basic
Printing on the User Documentation
CD-ROM.
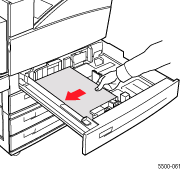
Note: Observe
the fill line on the back of the tray. If you load paper above the fill
line, the printer may jam.
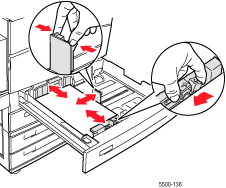
If necessary, adjust
the guides. Press the sides of a guide inward, then slide the guide against
the paper.
Push the tray completely
into the printer.
Specify the size of the paper:
In the front panel menus, select Printer Setup, then press the OK button.
Select Paper Handling Setup, then press the OK button.
Select Tray 2 Setup, Tray 3 Setup, Tray 4 Setup, or Tray 5 Setup, then press the OK button.
Select Auto Sensed, Custom, or a listed paper size, then press the OK button.
If you selected Custom, specify the width and height of the paper. Select Custom Width, press the OK button, scroll to the width of the paper, then press the OK button. Select Custom Height, press the OK button, scroll to the width of the paper, then press the OK button.
For additional information about loading paper, go to Reference/Printing/Basic Printing on the User Documentation CD-ROM.