Caution: The type of paper you load in the tray must be the same as the type specified on the front panel of the printer. If you fail to do this, print quality problems can occur and the fuser can be damaged.
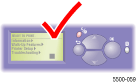
The paper specified on the front panel must be loaded in the specified tray. On the front panel of the printer, press the i button to view information about the front panel message.
Look at the front panel and note the type and size of the paper that you need to load in the tray.
|
Caution: The type of paper you load in the tray must be the same as the type specified on the front panel of the printer. If you fail to do this, print quality problems can occur and the fuser can be damaged. |
|
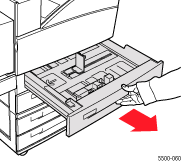
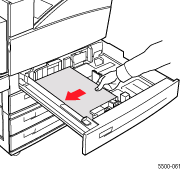
Pull the specified tray
out of the printer.
Note: If
there is paper in the tray, remove it since it does not match the type
or size of the paper required by the print job.
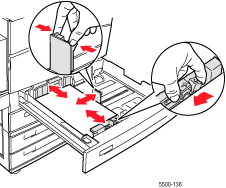
Make sure you have the
size and type of paper specified on the front panel. Fan the paper to
release sheets that may be stuck together.
Insert a stack of paper in the tray.
For single-sided printing, place the side to be printed faceup with the top of the paper at the front of the tray.
For two-sided printing, place
the side to be printed facedown
with the top of the paper at the
front of the tray.
For additional information about loading paper, go to Reference/Printing/Basic
Printing on the User Documentation
CD-ROM.
Note: Observe
the fill line on the back of the tray. If you load paper above the fill
line, the printer may jam.
If necessary, adjust
the guides. Press the sides of a guide inward, then slide the guide against
the paper.
Push the tray completely
into the printer.