Jam at the Front Cover
Follow these steps to clear the jam.
- Pull up the latch on the front of the printer to open the front cover.
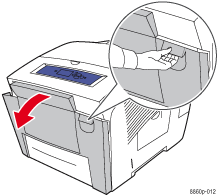
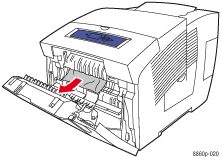
- Pull the jammed paper slowly out of the printer. Confirm that any torn pieces of paper are removed.
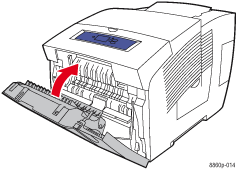
- Close the front cover.
- If you did not find paper in the previous steps, follow these steps.
- Open the exit cover.
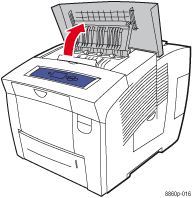
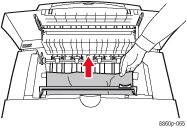
- Pull the jammed paper slowly out of the printer. Confirm that any torn pieces of paper are removed.
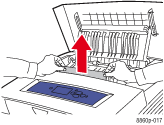
- Lift up the paper guides.
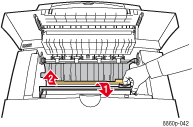
- Remove any jammed paper.
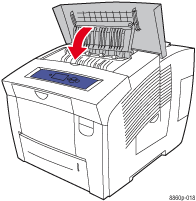
- Close the exit cover.
- If you did not find jammed paper in the previous steps, follow these steps.
- Pull all the trays completely out of the printer.
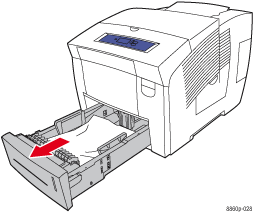
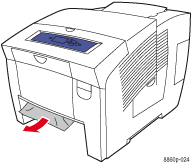
- Remove any jammed paper from inside the tray slot. confirm that torn pieces of are removed.
- Replace all trays and push each one completely into the printer.
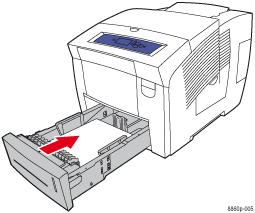
Note: Use only the approved paper type, weight, and size for this tray. Print custom size paper from Tray 1 only.


